How to Draw a Face Step by Step
Faces are the most-searched drawing subject in the world — and the most intimidating. Construction lines make them simple. Here's the step-by-step way to draw a face that actually looks right.
The secret: construction lines before features
Beginners draw an eye, then another eye, then a nose — and end up with features floating in the wrong places. Artists work in the opposite order: they build a head shape and guide grid first, then hang the features on it. Get the grid right and the face almost draws itself.
Step-by-step face proportions
- Draw an oval — slightly wider at the top. This is the skull.
- Add a vertical center line to keep the face symmetrical.
- Draw the eye line halfway down. The #1 beginner mistake is placing eyes too high — they sit at the middle of the head.
- Divide the lower half: nose line halfway between eyes and chin, lip line a third below that.
- Place the features: eyes one eye-width apart, ears between eye line and nose line, eyebrows just above the eyes.
- Refine the jaw and hairline, erase your guides, and confirm the line art.
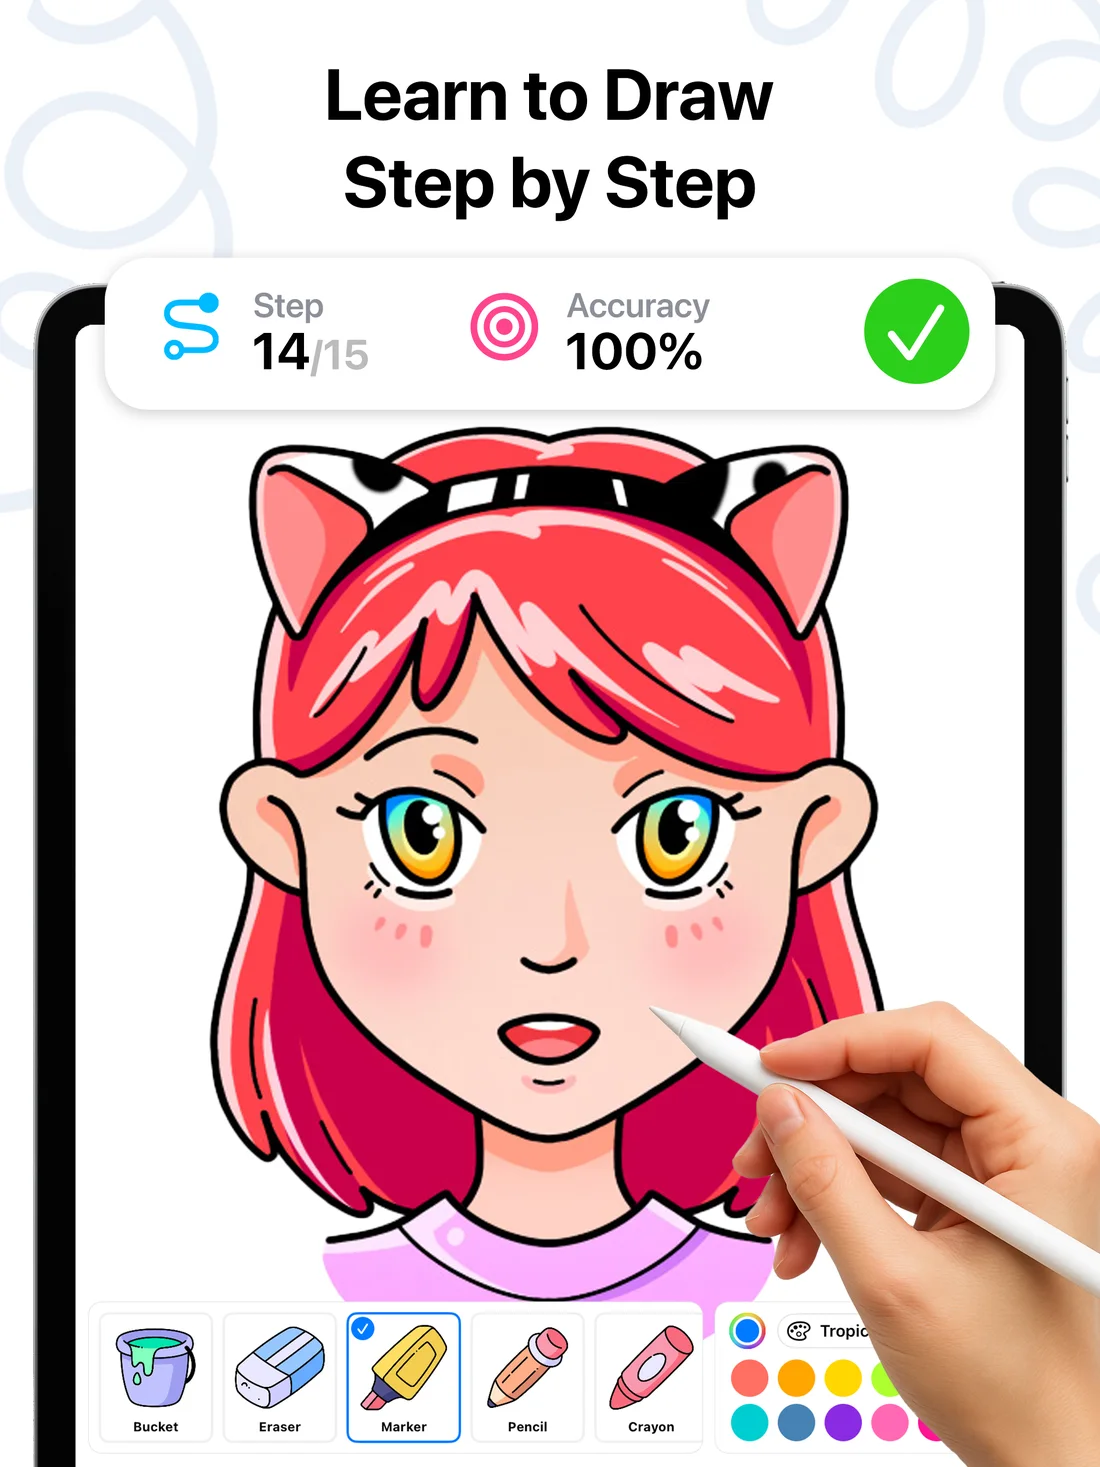
Practice faces in DrawUp
Reading about proportions is one thing — placing lines with your own hand is another. DrawUp's portrait tutorials (front view, profile view, curly hair, anime faces and more) turn the theory into guided reps:
- The lesson shows the construction lines in light blue and red, exactly like an atelier teacher would draw them.
- Each feature is its own step — you're never asked to "just draw the eyes." The guide dot leads your stroke and accuracy scoring confirms your placement.
- Finished faces move on to coloring: skin tones, hair highlights, blush — with palettes picked to look good together.
- Repeat a lesson to chase 100% accuracy; the first-try star counter shows your control improving session to session.
💡 Tip: do the front-view face tutorial three days in a row. By the third rep you'll draw the proportion grid from memory — that's the moment faces stop being scary.
